Complete Guide to Crafting Artisan Hard Candy From Scratch
Just follow precise temperatures and careful technique so you can master hard candy: hot sugar causes severe burns, so use a thermometer and protective gear; ex

This article contains Amazon affiliate links. As an Amazon Associate, CandiesAndSweets earns from qualifying purchases.
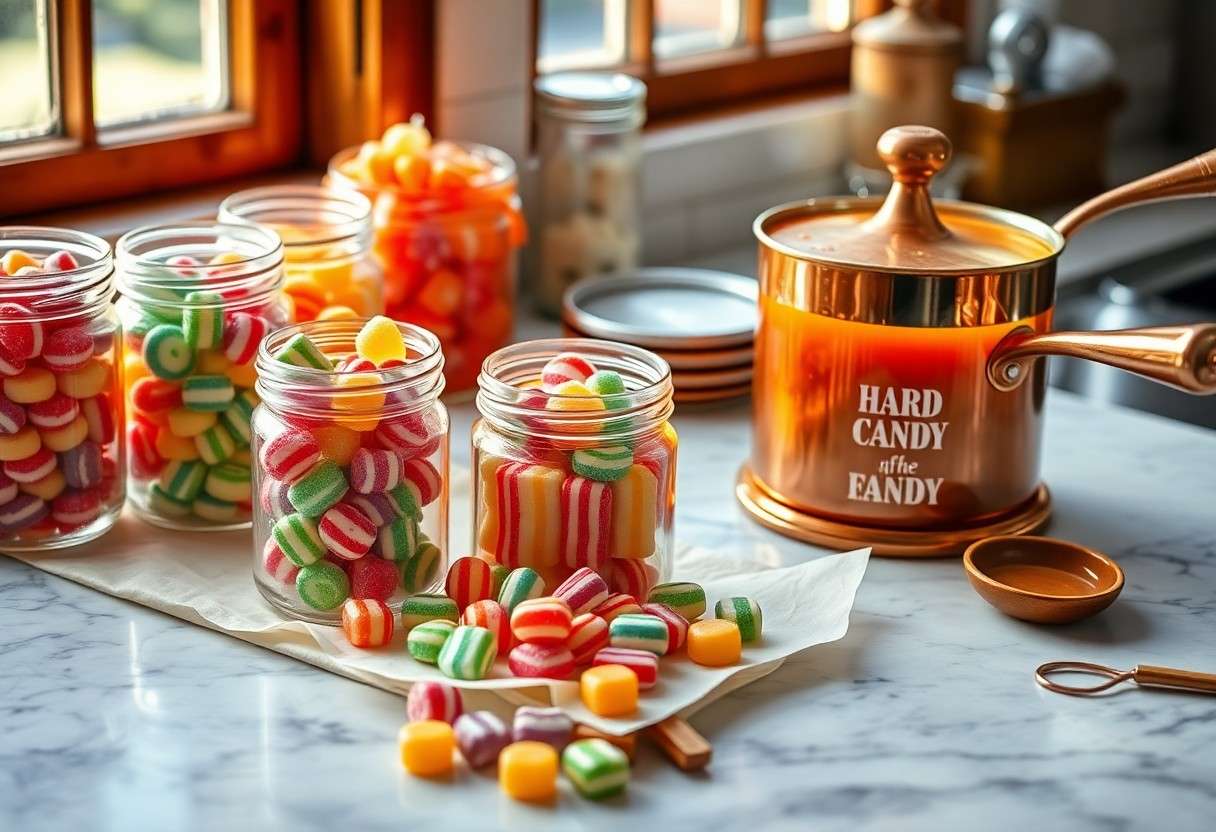
Just follow precise temperatures and careful technique so you can master hard candy: hot sugar causes severe burns, so use a thermometer and protective gear; exact boiling point control and quality ingredients yield glossy, complex-flavored results.
Essential Equipment and Ingredient Selection
Equip your workspace with a heavy-bottomed pan, a sturdy heatproof spatula, silicone molds and an accurate candy thermometer so you keep heat even and handling safe. Keep oven mitts and a bowl of cool water nearby because boiling sugar can cause severe burns, and store ingredients in dry, airtight containers to avoid moisture pickup.
High-Precision Tools for Temperature Management
Digital thermometers with a probe let you target exact stages so you hit the hard-crack point reliably; you want a model with ±1°F/°C accuracy. Use an infrared gun for quick surface checks and confirm with a calibrated candy thermometer in the pan since a misread temperature produces grainy or burnt candy.
Recommended tools and notes
| Tool | Purpose / Note |
|---|---|
| Probe digital thermometer | Measures internal sugar temp; accurate readings |
| Infrared thermometer | Checks surface temp quickly; not a substitute for probe |
| Heavy-bottomed saucepan | Prevents hotspots and uneven caramelization |
| Silicone molds & mat | Non-stick cooling and safe demolding |
Sourcing Premium Sugars and Natural Flavorings
Choose single-origin cane or fine caster sugar for clarity and a clean profile, and add glucose or inverted sugar to control crystallization; you should verify suppliers for traceability and purity. Seek pure extracts and food-grade citrus oils, because some imperative oils are not safe for ingestion and can spoil a batch or cause harm.
Blend sugar types to tweak texture: smaller sucrose crystals yield clearer candy while a touch of glucose syrup keeps pieces glossy and slightly softer; you should always store sugars airtight and keep flavor extracts cool and dark to preserve freshness.
Step-by-Step Production Process
Production Steps
| Step | Action |
|---|---|
| Ingredient Prep | Measure sugar, water, acid, and inverted sugar |
| Dissolve & Boil | Heat to target temperature, monitor with thermometer |
| Color & Flavor | Add colorings and essences near boil end |
| Cool & Shape | Pour, cool to working range, cut or mold |
Process each stage in sequence while you monitor time and temperature closely; use a reliable candy thermometer and keep your workspace free of distractions. Watch for hot sugar hazards and maintain clean, dry surfaces to reduce burn and contamination risk.
Mastering the Syrup Dissolution and Boiling Stages
Begin by dissolving sugar fully in water before applying heat, stirring only until the solution clears to minimize unwanted crystals. Add a small amount of acid or inverted sugar, then bring to the recipe’s exact temperature, avoiding rapid agitation that promotes crystallization.
Techniques for Cooling, Cutting, and Shaping
Control your pour onto a lightly oiled or silicone slab so the mass spreads evenly and reaches a uniform thickness as it cools into the workable window. Use heat guns or warmed tools to rework edges and employ sharp knives or heated cutters for clean slices while steering clear of contact with hot syrup.
Use precise timing to hit the workable temperature range; reheating tools in a warm bath helps when pieces firm too quickly. Store finished pieces in airtight containers and avoid humidity to protect the glossy finish and prevent stickiness.
Critical Factors Influencing Candy Quality
Temperature governs sugar behavior during boiling, and you must monitor pot heat and hit the precise degrees for the hard-crack stage to avoid sugar inversion or burn.
- Temperature
- Humidity
- Atmospheric pressure
- Sugar concentration
- pH control
Perceiving subtle shifts in gloss, set time, and mouthfeel helps you decide whether a lot meets quality targets or needs corrective action.
Impact of Ambient Humidity and Atmospheric Pressure
Humidity forces you to contend with extra surface moisture that produces sticky, slow-setting candies, so you should reduce air exposure or run a dehumidifier when possible.
Atmospheric pressure alters the boiling point, and you must adjust target temperatures or compensate for altitude to prevent undercooked, weeping batches.
Achieving Chemical Stability in the Hard-Crack Phase
pH influences inversion and sugar crystallization, so you should limit acid additions and control timing to maintain a clear, glassy structure.
Sugar concentration and cooling rate determine final brittleness, and you need to minimize agitation and pour rapidly onto a cool surface to lock the matrix.
Testing final pieces by probe temperature and bite assessment lets you confirm the hard-crack set and catch any residual stickiness before packaging.
Expert Tips for Achieving Professional Clarity
Mastering your temperature control and stirring technique ensures you reach the target sugar stage for artisan hard candy without introducing crystals. You should use clear syrups, strain impurities, and add a measured amount of acid to invert sucrose and improve clarity.
Keep your syrup perfectly clear by skimming foam and incorporating glucose or inverted sugar to slow recrystallization.
- Temperature: hold within precise range
- Timing: cool rapidly to set a glass-like surface
- Hygiene: avoid dust and stray sugar grains
This practice yields a glass-like finish while reducing exposure to high temperatures.
Preventing Premature Recrystallization
Avoid agitation once the syrup approaches hard-ball temperature and add a small amount of acid or invert sugar to interrupt crystal formation. You should keep humidity low and store candies airtight to prevent recrystallization.
Balancing Potency in Flavor and Color Application
Control the concentration of extracts and oils by testing on a tiny cooled sample before scaling up; add flavor near 160-180°F to preserve aroma without degrading heat-sensitive notes. You must also prefer oil-soluble colors for clear finishes and avoid overloading with pigments that cloud the candy.
Measure colors in drops or by weight and work incrementally, aiming for the minimum that achieves the desired hue; strong pigments can mask delicate flavor and create streaks. You should document dosages so you repeat results consistently.
Test small 10-20 g pulls to determine ideal flavor percentage-many concentrated flavors fall between 0.1% and 0.5% of total mass-and note that concentrated citrus oils can be caustic at higher doses, so dilute carefully.
Pros and Cons of Small-Batch Artisan Crafting
You should weigh the trade-offs below to decide if small-batch artisan candy suits your goals; the table lists operational advantages and practical drawbacks, including higher per-unit cost and burn risks from hot sugar.
| Pros | Cons |
|---|---|
| Flavor & texture control | Time-consuming production |
| Ingredient purity | Higher unit cost |
| Recipe experimentation | Batch inconsistency |
| Direct customer feedback | Scaling difficulty |
| Artisanal branding | Regulatory and labeling work |
| Freshness potential | Shorter shelf life |
| Modest equipment needs | Labor intensive |
| Rapid recipe iteration | Burn risk handling hot sugar |
Benefits of Creative Control and Ingredient Purity
Customization gives you absolute control over recipes, letting you use single-origin sugars and exact flavorings so each batch reflects intentional ingredient purity. You can craft signature textures and profiles that support premium pricing and stronger customer loyalty.
Challenges of Manual Precision and Safety Protocols
Precision demands strict timing and temperature control, so you must monitor stages with a reliable thermometer and act fast to prevent crystallization or hot sugar burns. You will also manage sanitation, allergens, and batch records by hand.
Safety procedures should include heat-resistant gloves, splash shields, clear SOPs, and accessible first-aid for severe burn incidents; you are responsible for enforcing them every batch.
Conclusion
The guide equips you with precise techniques for sugar stages, flavoring, and temperature control so you can produce consistent artisan hard candy. You develop skills in boiling, pulling, and finishing, and you’ll learn safe handling and troubleshooting tips to correct crystallization and color issues. Use recipes and timing charts provided to scale batches confidently and to create customized flavors and molds for retail or gifting.


