How to Create Luxury Chocolate at Home
This quick guide teaches you to melt, temper correctly, and mold silky, glossy chocolate at home while avoiding scalding hot sugar for a professional snap and d

This article contains Amazon affiliate links. As an Amazon Associate, CandiesAndSweets earns from qualifying purchases.
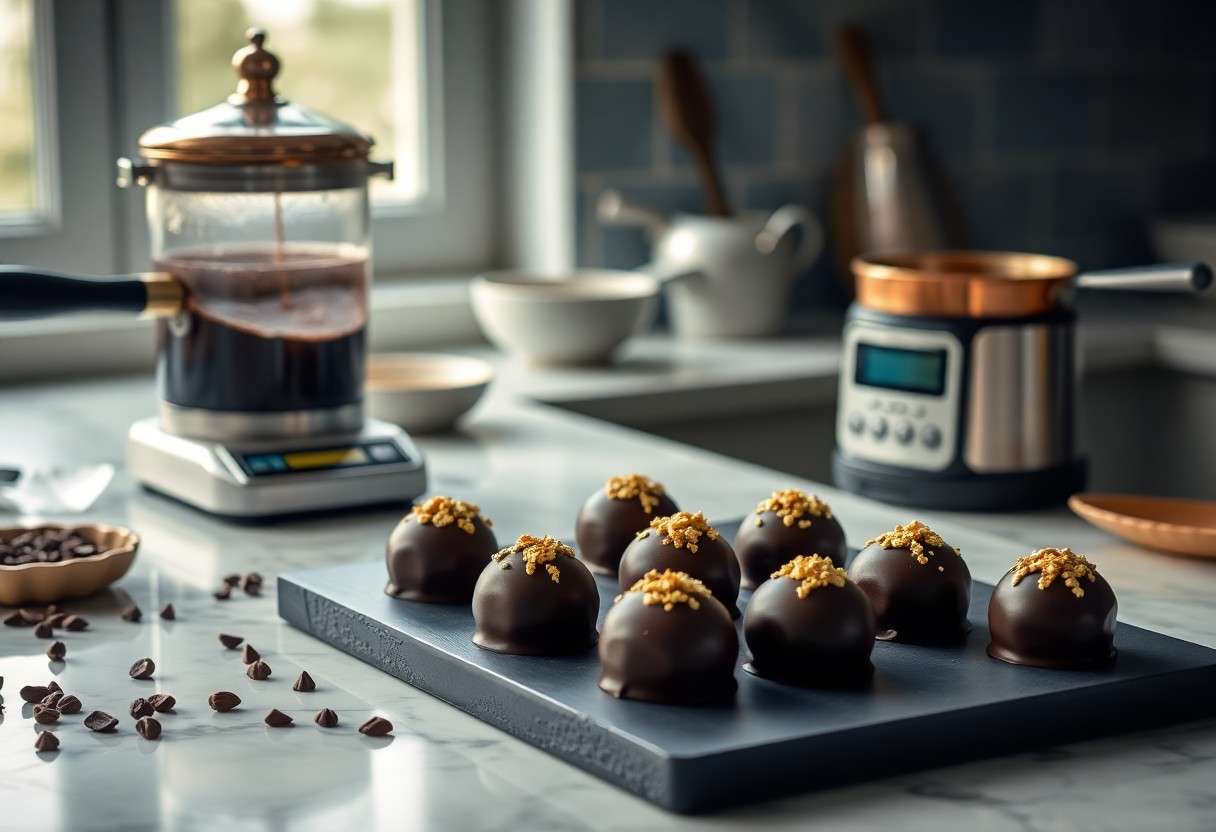
This quick guide teaches you to melt, temper correctly, and mold silky, glossy chocolate at home while avoiding scalding hot sugar for a professional snap and decadent flavor-no cape required.
Tools of the Trade (No, a Soup Spoon Won’t Do)
Forget the soup spoon myth; this is about tools that deliver control and repeatable shine, not improvisation.
Skip anything flimsy-buy a sturdy heatproof spatula, a fine sieve, and a reliable digital thermometer so you stop guessing temperatures by gut feeling.
How-to calibrate your digital thermometer for precision
Calibrate your digital thermometer with an ice-water bath (0°C) and boiling water (100°C) checks, note any offset, and set the correction; even two degrees can ruin tempering and leave you with dull, grainy chocolate.
The marble slab factor: Why cold stone is your best friend
Cold marble gives you a fast heat sink for tempering, yielding that mirror-gloss finish and snappy snap; use the slab to cool melted chocolate quickly and regain temper without overworking it, which protects the silky texture.
Place the slab on a folded towel to stabilize it, keep a metal scraper handy to spread and collect chocolate, and chill the stone briefly if your kitchen is warm so you maintain precise cooling control.
Tempering Your Temper (and the Chocolate)
Heat chocolate gently in a double boiler while you breathe; a slow melt preserves flavor and prevents burn. You should use a digital thermometer and stir constantly to encourage stable cocoa butter crystals for a glossy finish.
Keep the workspace dry and your tools warm so no stray water seizes the batch into a gritty disaster. Chill briefly on marble or a cool bowl to set the structure and bring out that coveted snap.
The seeding method how-to for a professional snap
Use the seeding method by melting most of your chocolate to the high temp for its type, then adding finely chopped tempered pieces to cool and stabilize the mass; stir until glossy. Knowing you can achieve a professional snap.
- seeding
- snap
- temper
Tips for fixing a “broken” batch without crying
Bring a broken, grainy mass back by gently warming and stirring, or by adding a few pieces of properly tempered chocolate to coax the crystals into order; avoid high heat that destroys temper. Use a thermometer to stay in the safe window for your chocolate type.
Patch small failures with a sprinkle of cocoa butter or by rebatching over a cool surface, stirring patiently until smooth and shiny. Knowing a careful re-temper and tiny additions save flavor and sheen.
- re-temper
- cocoa butter
- seize
Lastly, treat salvaging like minor surgery: work with small batches, clean tools, and slow, steady heat so you don’t overcorrect and ruin texture. Keep a few bars of good tempered chocolate on hand as insurance for quick seeding fixes. Knowing patience plus precise temps rescues your luxury result. You might also enjoy our guide on Ruby Chocolate Candies: Revolutionizing the Global Confectionery Market.
- patience
- small adjustments
- salvage
The Art of the Mold
Molds dictate the silhouette and the first impression of your chocolates, so you treat them like jewelry: no fingerprints, no scratches, only gleam. Use polycarbonate for crisp edges and silicone for soft shapes, and always handle with clean, dry hands to avoid contamination.
Clean molds between batches with a lint-free cloth and a touch of isopropyl or warm water; avoid abrasive pads that cause scratches that ruin the shine. Store face-up in a dust-free box to keep your pieces looking like designer confections.
Polishing factors for that mirror-like designer finish
Shine comes from obsessive small gestures: buff with a new microfiber cloth, wipe with surgical spirit, and keep your work surface spotless so oils won’t mar the gloss. You will want gloves to prevent fingerprints and a steady hand for last-minute touch-ups.
- Microfiber cloth – gentle, lint-free
- Isopropyl – removes oils without residue
- Gloves – prevent fingerprints and sweat spots
- Scratch control – avoid metal tools near cavities
Recognizing that even microscopic dust kills the mirror finish, you must polish, inspect, and polish again until the surface looks like glass.
Tips for air-bubble extraction to avoid “Swiss cheese” pralines
Prevent trapped air by pouring slowly, angling the mold, and tapping sharply against a padded surface; a small hand-held vibrator or a quick blast in a vacuum chamber will banish persistent bubbles. Keep chocolate at the right viscosity so it flows and releases air.
- Tap – firm, controlled knocks to release pockets
- Vibrate – handheld tools or vacuum to evacuate air
- Temperature – pour at proper viscosity to avoid traps
- Slow pour – reduces turbulence that forms bubbles
Thou must always give the mold a few decisive taps and a gentle vibration before cooling, or the centers will betray you with holes. You might also enjoy our guide on European Chocolate History: From Aztec Luxury to Global Delight.
Gentle additional measures include filling from one corner, using a toothpick to coax out stubborn bubbles, and finishing with a thin top-up for a flawless surface; never rush the pour or you invite defects.
- Corner fill – single-point pour to reduce turbulence
- Toothpick – pop surface bubbles before setting
- Top-up – seals cavities for perfect domes
Thou must inspect every cavity under good light before the chocolate sets to avoid Swiss-cheese surprises. You might also enjoy our guide on Luxury Chocolate Bars for High-End Treats.
To wrap up
Presently you can make salon-worthy chocolate at home by choosing top-quality beans or couverture, tempering with care, and adding bold fillings like sea-salted caramel or toasted nuts. You will charm guests with glossy molds, precise temperatures, and playful plating that says “artisan” not “store-bought”.


