How to Make Freeze Dried Candy With a Home Freeze Dryer
DIY you can turn everyday candy into airy, crunchy treats with a home freeze dryer; use single layers, avoid overloading trays to prevent incomplete drying, and

This article contains Amazon affiliate links. As an Amazon Associate, CandiesAndSweets earns from qualifying purchases.
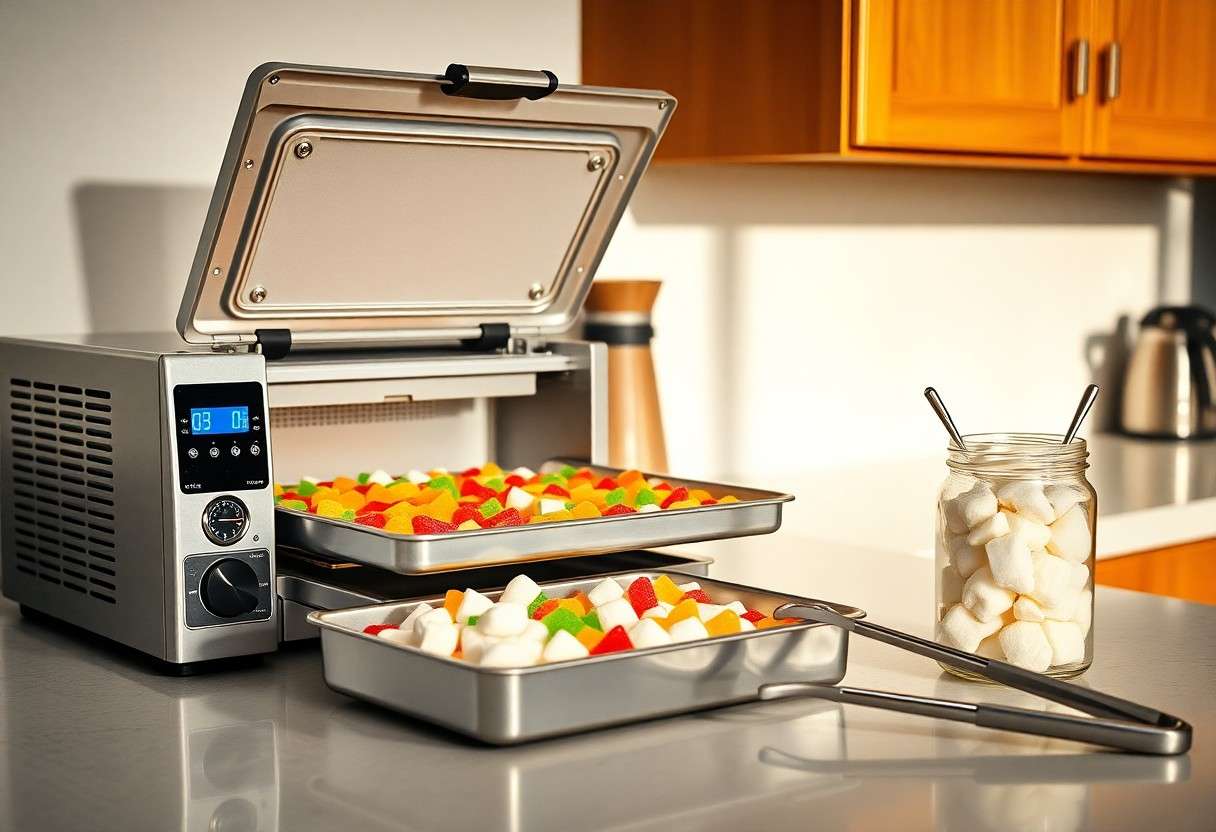
DIY you can turn everyday candy into airy, crunchy treats with a home freeze dryer; use single layers, avoid overloading trays to prevent incomplete drying, and seal in airtight jars for long shelf life.
Selecting the Best Candy Types
Candies you pick determine how well your home freeze dryer performs: hard candies become glassy and crisp, while gummies and marshmallows puff into airy textures; avoid oily chocolates that melt and stick.
| Hard candies | Glass-like crispness, excellent for snacking |
| Gummies | Huge expansion, light and crunchy when dry |
| Marshmallows | Outstanding puffing, very airy |
| Chocolate | Poor results-melts and becomes sticky |
| Chewy caramels | Dense, often tacky unless sliced thin |
- Slice dense candies thin to speed drying.
- Test small batches to dial cycle length for best texture.
- Keep oily pieces off trays to prevent contamination.
Assume that you always run a short test cycle on new candy types before committing a full batch. You might also enjoy our guide on Complete DIY Home Candy Making Guide for Beginners.
Sugar and gelatin factors for success
Sugar concentration alters drying: high sugar makes candies denser and more brittle, while gelatin-based items hold shape and expand well; you should monitor moisture and adjust cycle times accordingly.
- Prefer gelatin-containing confections for reliable puffing.
- Reduce slice thickness when sugar content is high.
- Pre-freeze sticky candies to limit deformation.
Recognizing that balancing sugar and gelatin informs drying time lets you plan safer, more consistent batches.
Identifying candies that expand effectively
Gummies and marshmallows typically offer the most dramatic puffing; you should space pieces to allow uniform airflow so each item expands fully. You might also enjoy our guide on DIY Artisan Candies – Simple Recipes To Create Gourmet Treats At Home.
- Choose gelatin-based gummies for predictable results.
- Avoid sugar-coated or oily shells that inhibit sublimation.
- Use single-piece tests to observe expansion behavior.
Expansion depends on trapped moisture and air pockets, so you can predict performance by testing one piece-note that freeze-dried gummies can become brittle and create a choking hazard for small children.
Preparing Your Home Freeze Dryer
Place your freeze dryer on a level, well-ventilated surface with several inches of clearance; you must keep vents clear and plug into a dedicated outlet to reduce electrical risk. Position the unit away from water and direct heat to protect components and the vacuum pump.
Check the door gasket, tray rails, and drain for debris before each run, and remove any sticky sugar buildup to prevent vacuum leaks. You should clean trays and seals routinely and replace damaged gaskets to maintain proper vacuum performance.
Essential how-to steps for machine setup
Begin by assembling trays and attaching the vacuum hose per manufacturer instructions, securing connections and confirming pump oil level if required. Set cycle parameters for candies, run a short empty cycle to verify vacuum hold, and avoid crowding trays-do not overload trays to ensure even drying and prevent motor strain.
Pre-chilling and tray preparation techniques
Chill candies solidly in your freezer before loading so pieces keep shape and sublimate uniformly; you should space items for airflow and use parchment or silicone liners for sticky sweets. Thinner, single-layer spreads produce crispier results and faster cycles, so aim for even spacing.
Arrange similar-sized pieces together to prevent uneven drying and cut large chews into halves when practical. After sugary batches, wipe trays and vacuum connections to remove residue-cleaning after each batch preserves vacuum efficiency and product quality.
The Freeze Drying Process
Time and temperature settings for sweets
Typical settings by candy type
| Candy type | Typical shelf temp & time |
|---|---|
| Gummies | -30°C freeze, ramp to 10-20°C, 12-24 hrs |
| Marshmallows | -30°C freeze, ramp to 15-25°C, 8-18 hrs |
| Hard candy | -30°C freeze, slow ramp to 5-15°C, 24-36 hrs |
| Chocolate & coatings | Lower final temps (5-15°C), longer cycles, watch for melting |
Gummies often dry quickest, so you should pre-freeze trays and apply vacuum before gently raising shelf temperatures into the 10-20°C (50-68°F) zone; total cycles generally run 12-24 hours depending on size and moisture.
Monitoring the sublimation and expansion cycle
Watch the vacuum gauge and tray activity closely since active sublimation shows as steady bubbling and expansion; you should slow heating if you see rapid collapse or melting because excess heat can ruin texture.
Adjust heating ramps and vacuum in small increments while performing a quick break test on a sample; if centers remain soft, return trays for more drying to achieve complete dryness and long shelf life.
Proper Storage and Packaging
Store freeze-dried candy in a cool, dry area away from direct sunlight. You should use airtight containers or sealed Mylar pouches and keep packages off damp floors; moisture and pests will ruin texture and flavor. For long-term storage, rotate stock so older packs are used first and inspect seals for breaches.
Utilizing vacuum sealers and Mylar bags
Use a vacuum sealer to remove air before placing pouches into Mylar bags, then heat-seal for a tight barrier. Avoid overfilling and press candies gently to prevent punctures; a double-sealed Mylar pouch gives the best protection against oxygen and moisture.
Maintaining shelf life with oxygen absorbers
Place oxygen absorbers sized for pouch volume inside each sealed bag to capture residual oxygen and slow staling and oxidation. Handle absorbers with dry hands and seal pouches immediately because their action begins on contact with air; exposed absorbers lose effectiveness quickly.
Check absorber capacity charts and match packet size to headspace and candy moisture; undersized absorbers will leave oxygen and shorten shelf life. Store sealed pouches in a cool, dark spot and label packages with pack dates so you can use older batches first.
Summing up
Drawing together, you choose whole or cut candies, place them single-layer on trays, run a standard freeze-dry program until they are dry and airy, and allow them to reach room temperature in the vacuum before sealing. You store finished pieces in airtight jars with oxygen absorbers or desiccant packs to preserve crunch and flavor; you test one piece before long-term storage to confirm dryness and adjust cycle time for future batches. You might also enjoy our guide on Indulge in Caramel-Centered Chocolates: A Luxurious Sweet Treat.


