Complete Guide to Making Homemade Caramels With Sea Salt
Most of you can make tender, silky caramels at home when you follow precise timing and temperature; hot sugar can cause severe burns, so you must use caution an

This article contains Amazon affiliate links. As an Amazon Associate, CandiesAndSweets earns from qualifying purchases.
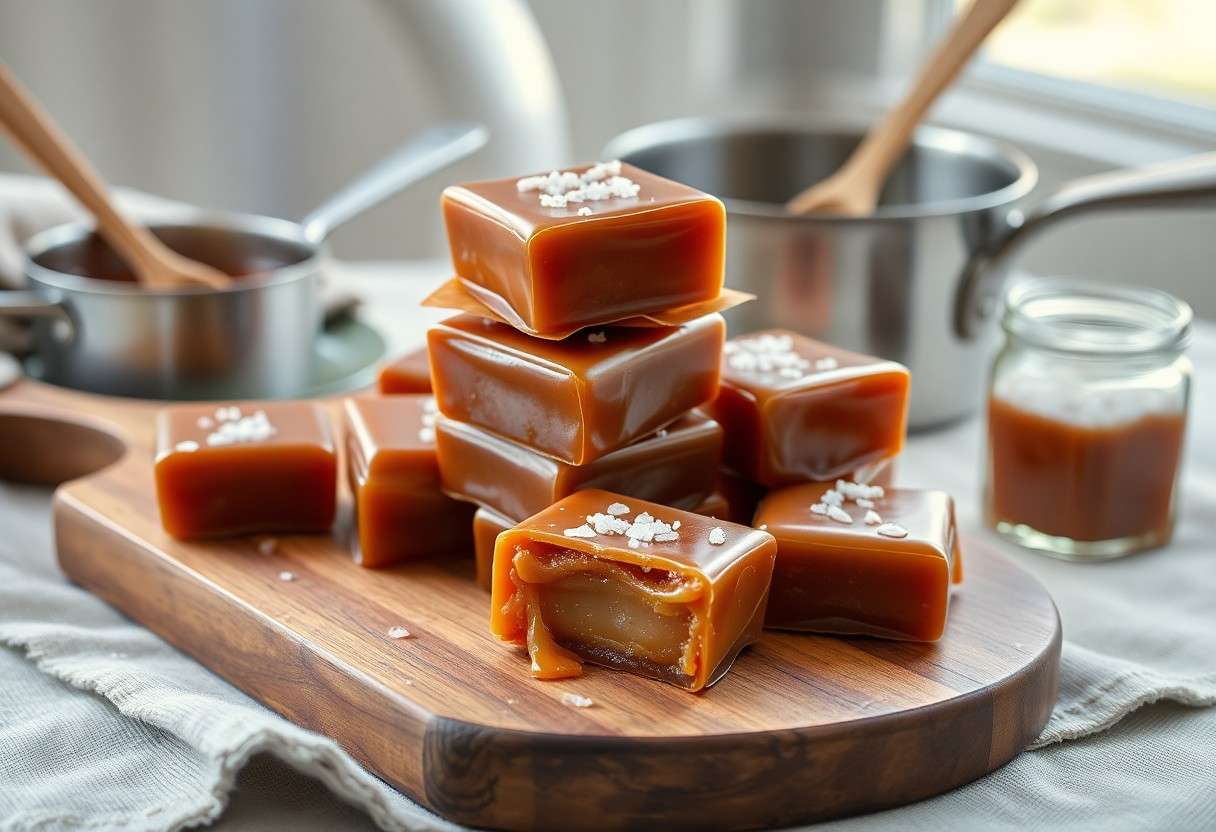
Most of you can make tender, silky caramels at home when you follow precise timing and temperature; hot sugar can cause severe burns, so you must use caution and a candy thermometer for exact heat, then finish with flaky sea salt for balanced flavor.
Step-by-Step Preparation Guide
Quick Prep Checklist
| Step | Detail |
|---|---|
| Measure | Weigh sugar, butter, and cream precisely |
| Heat | Use medium heat and a heavy-bottomed pan |
| Monitor | Track color and temperature with a candy thermometer |
| Finish | Add salt, cool, cut, and wrap |
You should keep the timing and temperatures visible and follow the table as a checklist so you maintain consistency throughout the process.
Melting and Caramelizing the Sugar
Heat the sugar slowly over medium heat, gently swirling the pan and avoiding stirring so you prevent crystallization; you must watch closely because hot sugar can cause severe burns if it splatters.
Integrating Dairy and Finishing with Sea Salt
When the sugar reaches a deep amber, remove from heat and add butter and warmed cream in a steady stream while you whisk to avoid clumping and minimize dangerous splatter.
Finish by stirring in a pinch of flaky sea salt for a balanced sweet-salty finish, pour into a lined pan, cool until firm, then cut and wrap for storage so you preserve texture and flavor.
Expert Tips for Professional Results
Keep your mise en place: weigh ingredients, line the pan, and have a reliable candy thermometer within reach so you can control the boil. Avoid splashing or leaning over the pot, as hot sugar can cause severe burns and ruin the batch.
Use a heavy-bottomed pan and steady, moderate heat to coax a soft, chewy texture from your caramels; stir less once the mixture darkens to prevent crystallization. Finish each piece with a light sprinkle of sea salt to balance sweetness and highlight flavor.
- candy thermometer: calibrate before use
- caramels: aim for precise temperature, not time
- flake salts: add at the end for texture
Calibrating Your Candy Thermometer
Check accuracy with an ice-water test (should read 32°F) or boiling water (212°F at sea level) so you can hit the soft-ball stage reliably. If the reading is off, adjust your timing and placement rather than guessing by color or time.
Selecting the Best Flake Salts
Choose delicate flake salts like Maldon or fleur de sel for a crisp crunch and clean brine that dissolves slowly on the surface. Sprinkle sparingly so the salt enhances rather than overpowers each caramel.
After you taste a test piece, adjust the flake size and amount to match your texture goal and to avoid an overly salty finish.
Troubleshooting and Storage Solutions
Check doneness by slicing a cooled caramel: if it pulls and sticks, you undercooked it – gently reheat to 245-250°F (118-121°C) while stirring. Handle hot caramel with care; hot sugar can cause severe burns.
Should caramel seize or separate, cool slightly and whisk off the heat to attempt re-emulsifying, or blend briefly for smoothness; if you try adding liquid, use warm cream to avoid shocking the sugar. Small additions of warm cream or a teaspoon of corn syrup often restore texture.
Correcting Texture and Separation Issues
When graininess appears from crystallization, return the mixture to low heat and stir until smooth, or dissolve crystals by adding a teaspoon of corn syrup; you can brush down the pan sides with a wet pastry brush to stop new crystals. Watch temperature closely to prevent burning.
Try using an immersion blender or food processor to reincorporate separated fats after cooling slightly; if you notice off flavors, remake a small batch and blend them together. Quick action increases chances of rescuing the batch.
Proper Wrapping and Preservation Techniques
Use squares of parchment or wax paper between pieces and wrap individually to prevent sticking and moisture transfer; then place them in an airtight container you label with the date. Proper wrapping preserves texture and flavor.
Seal containers tightly and label with date; for extended storage, vacuum-seal or freeze in small batches so you don’t repeatedly thaw and refreeze. Airtight protection prevents sugar bloom and sogginess.
Store caramels at room temperature up to two weeks, refrigerate for a month, or freeze for up to three months; when you thaw, do so slowly to maintain chewiness. Do not refreeze after thawing.
To wrap up
You now have a clear, step-by-step method to make creamy caramels with a precise balance of sweetness and sea salt. Follow temperature targets, use heavy cream and high-quality butter, monitor color for flavor, and cool properly to achieve the ideal chew and shelf life.