The Science Behind Chocolate Tempering Explained
It's important to understand the science behind chocolate tempering to achieve that perfect glossy finish and satisfying snap in your confections. By manipulati

This article contains Amazon affiliate links. As an Amazon Associate, CandiesAndSweets earns from qualifying purchases.

It’s important to understand the science behind chocolate tempering to achieve that perfect glossy finish and satisfying snap in your confections. By manipulating the crystalline structure of cocoa butter through precise temperatures, you can enhance the flavor, texture, and shelf-life of your chocolate creations. In this informative guide, you will explore the thermodynamic principles at play during the tempering process and discover tips to master this technique, ensuring your homemade chocolates achieve professional-quality results every time.
The Chemistry of Chocolate
Your understanding of chocolate’s chemistry is imperative when you explore into the art of tempering. Chocolate is derived from cocoa beans, and its unique texture and flavor come from the complex interactions of various components within it. The main ingredients that you’ll encounter are cocoa solids, chocolate liquor, cocoa butter, and sugar. Each of these elements plays a significant role in the chocolate’s final temperament, influencing its melting characteristics and mouthfeel. By grasping these chemical interactions, you’ll be better positioned to achieve a glossy finish and a satisfying snap when working with chocolate.
Understanding Cocoa Butter
For the most part, cocoa butter comprises almost 50% of the cocoa bean’s fat content, making it an integral part of chocolate’s texture and stability. This fat is unique in its ability to exist in various crystalline forms, which are known as polymorphs. Each polymorph gives the chocolate different properties, affecting everything from meltability to sheen. For successful tempering, you need to manipulate cocoa butter to achieve the desired crystalline structure, which is imperative for creating a fine chocolate product with a smooth texture and bright appearance.
Crystallization Process
Before venturing into the tempering technique, it’s vital to understand the crystallization process—a series of transformations that cocoa butter undergoes to become stable. When melted chocolate cools, the cocoa butter begins to solidify and form crystals. However, not all crystallization is equal; the formation of specific polymorphs at precise temperatures is what defines well-tempered chocolate. To temper successfully, your objective is to foster the growth of stable crystals—specifically Form V crystals—while eliminating unstable ones that can lead to a dull appearance and an undesirable texture.
At each stage of the crystallization process, you’ll need to ensure that the chocolate reaches specific temperatures, typically around 88°F to 90°F (31°C to 32°C) for dark chocolate, to enable the formation of these stable crystals. The initial melting phase must reach nearly 120°F (49°C) to fully liquefy the cocoa butter, thus allowing for a reset of the crystal structure. By carefully controlling the temperature drop and agitation, you will foster a smooth and shiny finished product that maintains its integrity when cooled, ensuring a delightful chocolate experience.
Tempering Methods
Some of the most effective methods for tempering chocolate include the traditional table method and the seeding method. Each technique offers unique advantages depending on your environment, resources, and skills. Understanding these methods will take your chocolate-making game to the next level and ensure that your chocolate has that perfect shine and snap.
Traditional Table Method
After you melt your chocolate to the desired temperature, typically around 110°F (43°C) for dark chocolate, you can utilize the traditional table method to cool and temper it. You will need a clean, smooth surface, such as a marble countertop. Pour about two-thirds of the melted chocolate onto the surface and use a spatula to spread it out, allowing it to cool down to about 82°F (28°C). Next, you can return the cooled chocolate to the remaining third of the melted chocolate to bring your mixture back up to a working temperature of around 88°F to 90°F (31°C to 32°C). This method allows you to manually introduce seed crystals, facilitating the right crystalline structure for your chocolate.
Seeding Method
To use the seeding method, simply melt your chocolate as you would for any other technique, bringing it to the appropriate temperature. Afterward, you’ll add solid chocolate pieces or chocolate “seed” into the melted chocolate while stirring continuously. This seed chocolate should ideally be finely chopped to accelerate the melting process. By incorporating the solid chocolate, you facilitate the formation of stable cocoa butter crystals on their own and help the melted chocolate achieve the right temperature more efficiently.
Seeding presents an excellent alternative if you’re looking for convenience and precision. While the traditional table method requires more space and manual dexterity, the seeding method is great for beginners or anyone wanting to maintain control over the tempering process without the need for a specialized surface. Additionally, this technique allows you to temper in smaller batches, making it particularly useful for small-scale projects or recipes.
Importance of Tempering
It is imperative to grasp the role of tempering in achieving high-quality chocolate. By effectively tempering chocolate, you can significantly enhance its overall texture and appearance. The process involves carefully manipulating the cocoa butter crystals in chocolate, leading to a stable structure that gives your chocolate the perfect mouthfeel and aesthetic appeal. If you want your chocolate creations to stand out, mastering the tempering process is fundamental.
Texture and Snap
Above all, the texture and snap of your chocolate are heavily influenced by whether or not it has been tempered correctly. When chocolate is tempered, the cocoa butter forms stable crystals that provide a smooth and glossy finish, which melts beautifully in your mouth. On the contrary, untempered chocolate may result in a dull appearance and an undesirable grainy texture. By taking the time to temper your chocolate, you’re setting the stage for an indulgent experience with character and delightful mouthfeel.
Shelf Life and Gloss
Across the board, tempered chocolate not only looks more appealing but also offers a longer shelf life. Properly tempered chocolate is less prone to bloom, which is the white, powdery coating that can form due to fat separation. This phenomenon can degrade the visual appeal and flavor of your chocolate. When you temper your chocolate effectively, you ensure it maintains its luscious gloss and fresh taste, making it more enjoyable for you and anyone you share it with.
It is important to note that the glossy finish of tempered chocolate is not just for show; it acts as a protective barrier against moisture and air, helping to preserve the integrity and flavors of your chocolate. This quality allows you to store your confections for longer periods without compromising their taste or texture, ensuring that your hard work remains rewarding long after production. With attention to detail in the tempering process, your chocolate will deliver a superior experience while also standing the test of time.
Common Mistakes in Tempering
All chocolate tempering techniques can be compromised by a few common mistakes that you may encounter during the process. Understanding these pitfalls will enable you to achieve a smooth and glossy finish that’s crucial for perfect chocolate. By being aware of these issues, you will be better equipped to troubleshoot any problems that arise and produce fabulous confections that showcase your chocolate skills.
Overheating Chocolate
After you have melted your chocolate, one of the most common mistakes is overheating it. Heating chocolate too much can force it past its ideal temperature range, causing the cocoa butter to become unstable. This often results in a dull finish and a brittle texture when the chocolate sets. It’s crucial to monitor the temperature closely and to remove the chocolate from the heat source once it reaches the recommended melting point to achieve that desired tempered state.
The Role of Humidity
Role of humidity plays an often-overlooked factor in the tempering process. If you are working in an environment with high humidity, the moisture in the air can affect the chocolate’s texture and finish. Chocolate absorbs moisture, which can lead to a dull appearance and a cloudy surface, ruining the hard work you’ve put into tempering. To ensure the best results, aim for a cool, dry workspace, and avoid letting water come into contact with your chocolate, as this can also adversely influence the tempering process.
Overheating chocolate and humidity issues can both create significant setbacks in your tempering efforts. Humidity causes chocolate to seize and dampens its glossy appearance, while overheating may break the tempering process entirely. To achieve exceptional results, it is recommended to always work in controlled conditions and to keep an eye on the temperature to ensure you remain within the ideal melting and tempering ranges. This careful attention to both temperature and environmental factors will allow you to create chocolate with a professional finish every time.
Tools and Equipment for Tempering
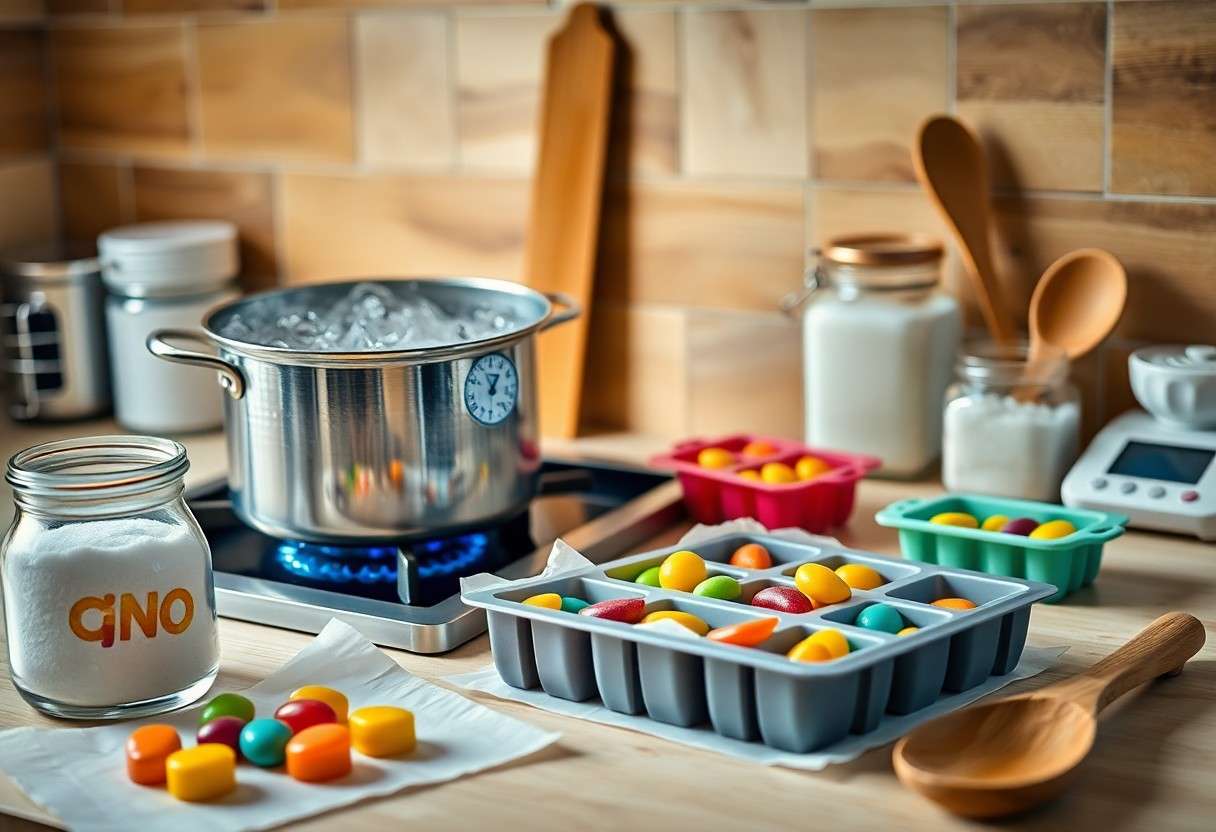
Many home chocolatiers find that using the right tools and equipment can significantly enhance their tempering process. A few crucial items can provide a more controlled and efficient approach to tempering chocolate, yielding beautifully smooth and shiny results that you can be proud of. It’s advisable to have items like a heat-resistant spatula, a digital thermometer, and a double boiler setup readily available in your kitchen. These tools not only aid in the tempering process but also ensure that you can maintain the ideal temperatures necessary for perfect chocolate consistency.
Essential Kitchen Tools
Between your primary chocolate items, having specific tools at hand makes the process more manageable and enjoyable. A good digital thermometer will allow you to accurately measure the temperatures of both the chocolate and the water in your double boiler, ensuring you keep everything within the required range. Additionally, having a heat-resistant spatula is crucial for stirring and incorporating your chocolate without risking melting or warping. Lastly, a marble slab can be a great tool for those who prefer the tabling method of tempering.
Advanced Equipment Options
Tempering can also benefit from more advanced equipment that can automate some of the more tedious tasks. Investing in a chocolate tempering machine might be worthwhile if you are serious about chocolate making. These devices simplify the tempering process by maintaining precise temperature settings without the need for constant monitoring. Furthermore, they can melt and temper larger quantities of chocolate simultaneously, which is great for batch production.
|
These items can elevate your chocolate making to a more professional level, providing consistency and scalability in production. |
Even as you explore these advanced options, it’s important to choose devices that match your personal needs and level of expertise. While investing in high-tech equipment can lead to better results, knowing the fundamentals of tempering with basic tools will still greatly serve you. Think about your future chocolate-making aspirations when selecting any equipment, as this can guide you toward the right choices that support your growth.
|
Each of these options can enhance your chocolate tempering and overall production efficiency as you research deeper into the world of chocolate. |
Applications of Properly Tempered Chocolate
Despite the fundamental role that tempering plays in achieving the desired properties of chocolate, its applications extend far beyond the mere production of bars. Properly tempered chocolate is necessary in the world of confectionery, where it enhances the visual and tactile qualities of various treats. By ensuring that the chocolate maintains its glossy finish and satisfying snap, you elevate the overall experience for your audience. Whether you are dipping fruits or nuts, or crafting chocolate bonbons, tempered chocolate ensures that your creations not only taste divine but also possess an appealing aesthetic that draws in potential customers or delighted guests.
Confectionery and Coatings
Along with providing a shiny appearance, tempered chocolate is ideal for coating and enrobing sweets. When you use well-tempered chocolate for coating, it bonds seamlessly to substrates, creating an attractive and durable shell that retains its form. This is particularly important for items like truffles or chocolate-covered pretzels, where a stable coating prevents a mess and enhances portability. Using improper chocolate can lead to unsightly blooms—white streaks that compromise not only the visual appeal but also the texture, making your confectionery less appealing.
Baking and Pastry
After mastering the art of tempering chocolate, your baking and pastry creations will achieve new heights of sophistication. Tempered chocolate can be used in various applications, from crafting decorative chocolate curls to enrobing desserts or layering in cakes. Its stability when melted and re-cooled allows for intricate designs and signatures that add a personal touch to your baked goods. By incorporating tempered chocolate into your recipes, you ensure that your desserts maintain their structure while delighting the palate with rich chocolate flavor.
Another advantage of using tempered chocolate in baking is its resistance to melting when exposed to heat. This feature allows you to create stunning chocolate decorations that can withstand the warmth of freshly baked desserts. When you temper your chocolate, it achieves a stable crystal structure that not only tastes fantastic but also holds its shape beautifully, providing intricate detailing to a layered cake or adding flair to plated desserts. Exploring the potential of tempered chocolate within your baking projects will not only impress your guests but also expand your culinary repertoire significantly.
To wrap up
Taking this into account, understanding the science behind chocolate tempering can significantly enhance your culinary skills. By controlling the temperature and the techniques you employ, you’re able to stabilize the cocoa butter crystals within the chocolate, resulting in a glossy finish and satisfying snap when broken. This scientific approach ensures that your confections not only look appealing but also have a desirable texture that will impress anyone who tastes your creations.
Furthermore, as you practice tempering chocolate, you’ll discover the nuances involved, from the specific temperature ranges for different types of chocolate to the timing of each step. This knowledge will empower you to experiment more confidently, leading to innovative and delicious results in your baking and confectionery endeavors. Ultimately, mastering chocolate tempering not only refines your technique but also deepens your appreciation for the craft of chocolate making.